Have you ever wanted to try your hand at green screen photography? This guide is worth reading as it shows you how easy it is to use your portable green screen. You can try this yourself; all you need to have is perfect lighting and some knowledge of how to use a camera.
Green screen backgrounds depend on lighting
Most people don’t think about how the photo of the green screen background is actually taken. In reality, the lighting is the most critical part of it all. Without good lighting, your composition will look terrible. Still, let’s start with the basics. As with most staged photos, you’ll light both your subject and your background. This gives the subject a consistent tone.
In normal photography, when lighting the background, a photographer may use different techniques to “paint” with light and make interesting shadows or patterns. On the other hand, you should never do that when using a green screen portable.
The goal here is to keep the light on the background evenly. This means there are no shadows. Also, the subject should be far away from the green screen. This keeps away the shadows.
Step By Step Instructions
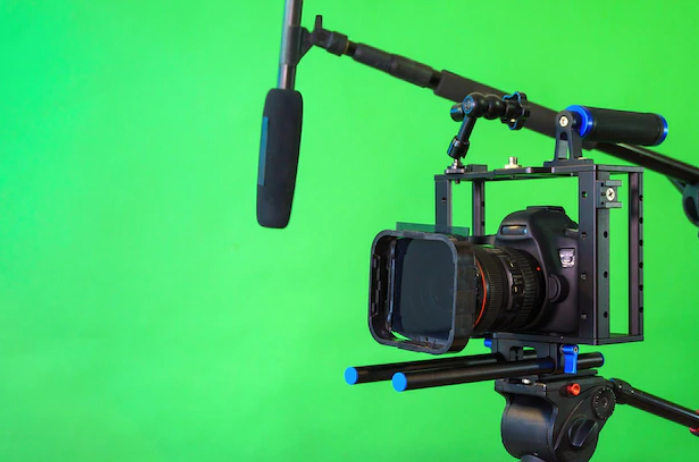
1: Set up your green screen
You can buy a portable green screen online, or you could use a green poster paper. Your green screen should have as few creases as possible and be the same color all the way through.
2: The subject should be 3 to15 feet away from the green screen
You’ll need at least three feet between the subject and the portable green screen to keep shadows to a minimum, which will be important when the green screen is taken away later. For the best results, try to keep at least 10 to 15 feet away from the green screen. This will help the subject look natural by making the lighting look like the lighting in the background clip.
3: Camera Position
You’ll want to keep your camera at a distance so that your whole body (if possible) fits in the frame, but not so far away that the green screen isn’t in the middle of the frame.
4:Click the pictures
Make sure that any movements in the frame stay in front of the green screen. Anything shot outside of the frame (green screen) will be cut from the final video.
Using Photoshop’s Editing Tools
The computer takes a sample of color and uses that sample to give a range of colors. The hues within that range are then taken out of the final image & replaced with some other background. There are methods to get much more specific, but that usually takes longer and costs more. On the contrary hand, with green screen photography, almost all of Photoshop’s tools are available to you.
Most editors would use three main tools in Photoshop to create a “green-screened” image. With these tools, you can simply choose the background and delete it.
- Magic Wand
- Lasso
- Color Range
After getting rid of the chosen green area, you can now put your foreground on a new background. This is done by stacking; you can do it with free programs like the GIMP.
When a photographer takes the picture, he/she has to make sure that the lighting on the subject matches the lighting on the background.
Closure
A portable green screen allows users to create not only pictures but also stupendous videos. These days content creators are making the optimum use of it. You can also make the most out of the green screen. However, remember that lightning and excellent skills in photo editing are also required.