
If you pick up your phone, the message “iPhone is disabled” appears. If you don’t connect to Apple iTunes, you won’t be able to unlock the device unless you perform certain procedures. This guide will show you how to unlock a disabled iPhone, whether you’re using iTunes or not.
You may need to wait for anything from 5 to 60 minutes before attempting to unlock your phone with your passcode. This approach, however, is not available to everyone. On your iOS smartphone device, you may discover how to solve the “iPhone is disabled.” problem now.
Part 1: Why is your iPhone disabled?
The iPhone is equipped with several sophisticated security features, which are meant to thwart brute-force efforts to circumvent the passcode.
When you or someone else enters the incorrect passcode on your device more than six times, the dreadful “iPhone is disabled” warning appears on your screen. The more times you input the erroneous passcode, the longer it will take for you to enter the correct passcode and be at one with your smartphone once again. Depending on how your iPhone is configured, if you input the erroneous passcode ten times, it will immediately delete all data from the device.
Part 2: Restore Your iPhone Using Recovery Mode:
The first option is to restore an iPhone that has been placed in the recovery mode using iTunes. Always make sure that you have the most recent version of iTunes installed on your computer to avoid problems. To complete the process, follow the steps outlined below.
- Begin by connecting your USB device just to your computer.
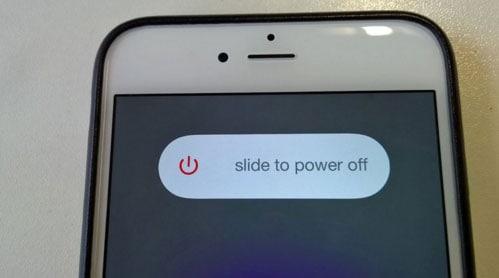
- Hold down the power button until the screen below appears, then slide it to the off position to turn it off.
- After pressing and holding the iPhone’s home button for a few seconds, connect it to the USB cable already connected to your computer. You will initially see the Apple logo, which will change to the recovery logo, as shown in the image below.
- Release the home button after you’ve seen the recovery logo. At that point, your iPhone will be in the process of being repaired.
- Now, turn your attention to the iTunes store. You should see a dialogue box confirming that you are in recovery mode if you are in recovery mode. You may then choose “Restore” from the drop-down menu in that window to restore the device to a previously stored backup file.
Part 3: How to fix a disabled iPhone with 4uKey?
Have you forgotten your Apple ID or password? Don’t know what your iCloud account or password is? Do you want to know how to unlock your Apple ID if it claims that your Apple ID has been disabled? Don’t be concerned; Tenorshare 4uKey (Unlock Apple ID) will assist you in resolving all of your problems.
Simply follow the instructions outlined below.
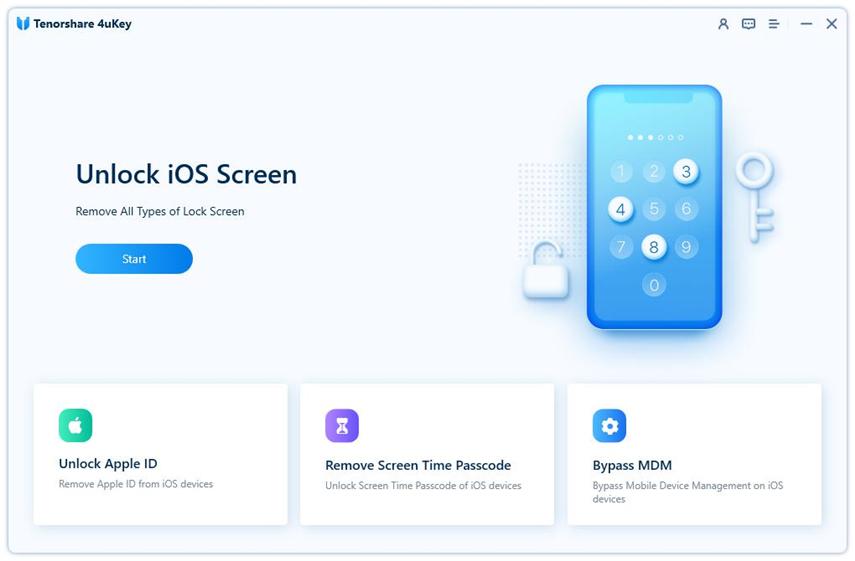
Step 1: Download and install 4uKey on your computer or Mac, then run the software to get started. You will be presented with the following interface; choose the “Unlock Apple ID” from the drop-down menu.
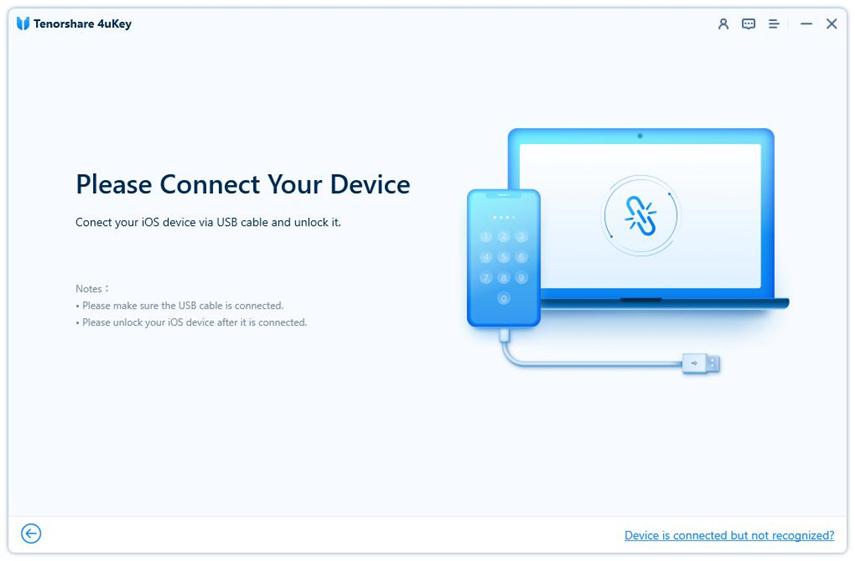
Step 2: Connect your iOS device to your computer via a USB cable. 4uKey will remind you to unlock your device’s screen first and then touch the “Trust” button on its screen.
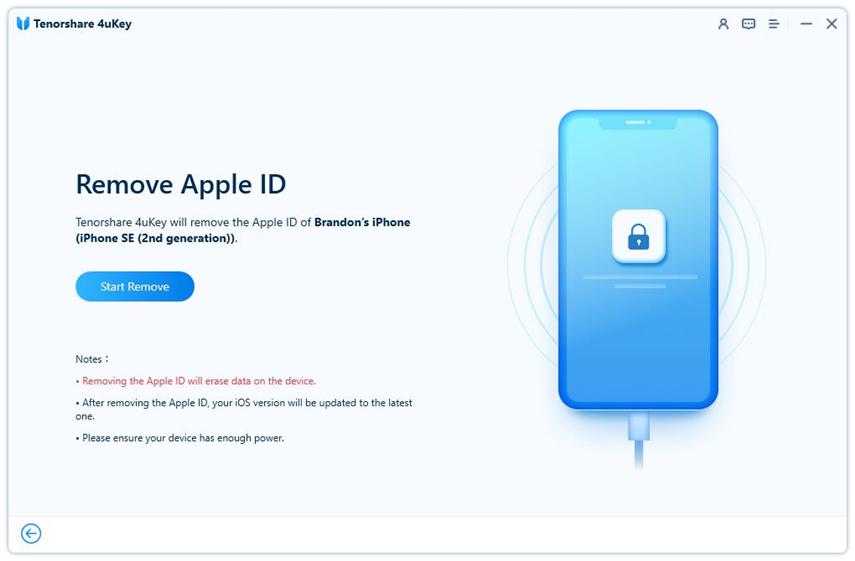
Step 3: To delete the Apple ID and iCloud account currently connected with your iPhone, iPad, or iPod touch, choose “Start Removing” from the drop-down menu.
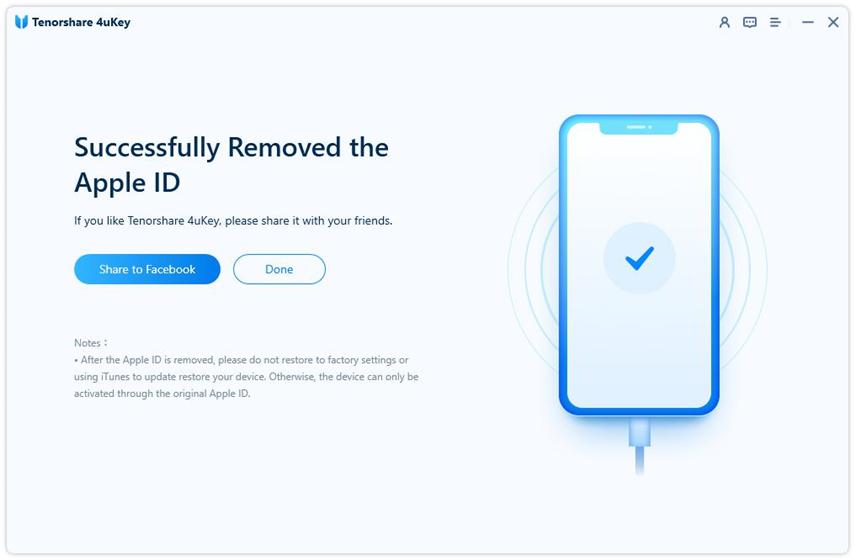
Step 4: If your Apple ID is discovered, 4uKey will unlock your account instantly, and none of your data will be compromised.
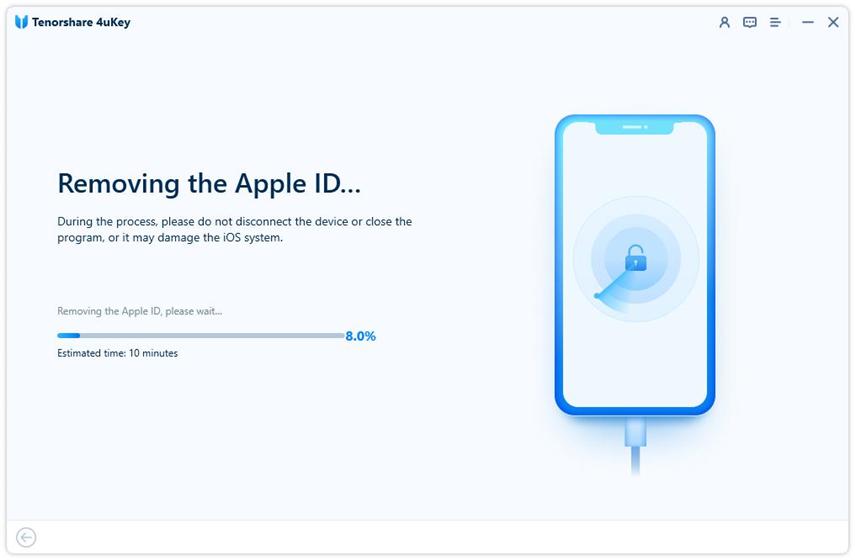
Step 5: Before the following interface shows, the whole procedure will take a few seconds to complete.
Part 4: Restore Your iPhone with iTunes:
If you make ten consecutive incorrect passcode inputs, you can put your iPhone into a disabled state. This implies that you will not attempt to unlock your phone again unless you connect your phone to a Mac or PC to iTunes.
As soon as your phone reaches this phase, you’ll need to connect it to your computer through a Mac or a PC.
- Connect your device to your computer using Wi-Fi or USB cable.
- In the iTunes application on your PC, click the phone icon on the top left corner of the iTunes window.

- Click Summary option.
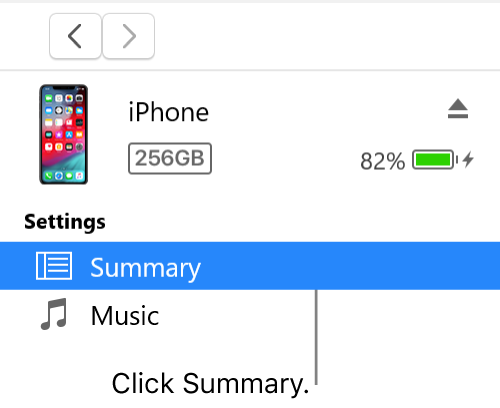
- Click Restore, and then follow the onscreen directions.
By doing so, you will have the opportunity to restore or recover all of the data contained on your device.
Part 5: Restore Your iPhone through iCloud:
Most iOS users often hunt for a way to recover data and files from an iCloud backup because they wish to:
- Transfer data from an old iPhone, iPad, or iPod to a new iDevice.
- After data loss, recover lost/deleted iOS files.
- Without restoring the iDevice, you can retrieve certain files from previous iCloud backups.
As we all know, backing up your iOS device using iTunes or iCloud is simple to do. It ensures that your data (including messages, contacts, notes, and images) is secure and recoverable in the event of a device disaster or if you transition to a new device.
Pros
- Simple and easy to use
- You don’t need a computer or cable
- 5GB of free storage
- Simple access to your data
- iCloud is free to get
Cons
- You need to have an internet connection
- Security issues
- Not all files are included in iCloud backup
- Slow transfer of large files
Final Words:
How to undisable an iPhone? If you input the erroneous passcode ten times in a row, your iPhone will be deactivated. The only alternative will be to factory reset the disabled iPhone, which may be done in one of three methods. Which of the three methods for resetting a disabled iPhone is the best? It depends on if you have access to iTunes/iCloud. You may not be able to connect a disabled iPhone to iTunes, or you may not have enabled Find My iPhone to utilize iCloud, in which case you can use 4uKey.