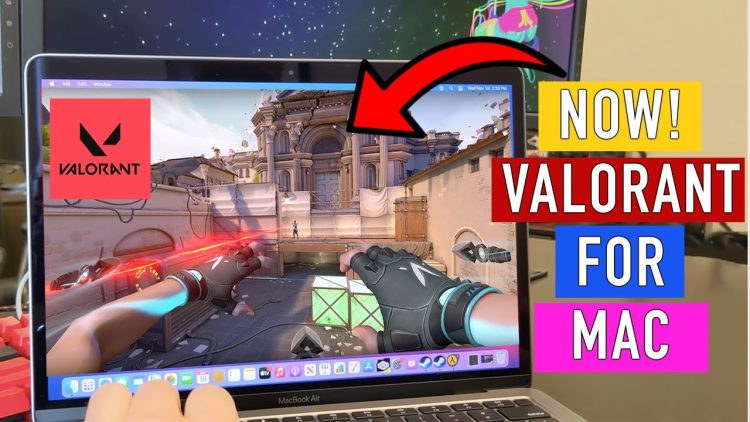
Valorant is one of the hottest competitive first-person shooters on the market. Developed by Riot Games, the studio behind League of Legends, the game has quickly gained a massive following due to a massive marketing campaign and the anticipation of the studio’s take on the FPS genre. However, for Mac users, Valorant is not available natively on the platform.
The good news is that there are ways to run the game on your Mac. In this post, we will be discussing the methods to play Valorant on a Mac, regardless of whether you are using an Intel or an Apple Silicon machine. These methods range from using a virtual machine to installing Windows via Boot Camp. We’ll guide you through the process, step-by-step, so you can enjoy Valorant on your Mac without any issues. If you find it somehow difficult to do that, you can try this detailed Valorant Mac guide. We used this guide as a basis for the method described below.
While it may seem like a daunting task to get the game running on a Mac, with a little bit of patience and the right tools, it’s more than doable. Whether you’re a die-hard fan of Valorant or a casual gamer looking to try it out, this guide will help you get started on your Mac. So, get ready to dive into the world of Valorant, Mac users!
So…. How do I play Valorant on mac?
If you want to play Valorant on your Mac, you’ll need to use Boot Camp, which is Apple’s free desktop virtualization tool. Boot Camp allows you to run both Windows and macOS on your Mac and play Valorant using your Riot Games ID, which you can create here. Here’s how to install Windows on your Mac using Boot Camp:
Step 1: Check System Requirements Before you begin, make sure your Mac meets the following requirements:
- The latest macOS installed on the device to support Boot Camp Assistant.
- At least 64GB of free storage on your Mac device (128 GB recommended for smoother gameplay).
- Windows 10 Home or Windows 10 Pro on a disk image or an external USB drive with at least 16GB of free space.
You can only install Windows using the Boot Camp tool on the following Mac devices:
- MacBook Air 2015 or later
- MacBook Pro 2012 or later
- Mac mini 2012 or later
- Mac Pro 2013 or later
- iMac 2012 or later
- iMac Pro (all models)
Step 2: Download Windows ISO File You’ll need to download the Windows ISO file from Microsoft’s website. Make sure to choose the correct version for your Mac.
Step 3: Open Boot Camp Assistant Open Boot Camp Assistant by going to the Utilities folder in the Application folder.
Step 4: Create a Windows Partition Boot Camp Assistant will guide you through the process of creating a Windows partition on your Mac. Set the partition size for Windows operating system according to the RAM and free storage on your Mac device, as mentioned in the prerequisites. Make sure to create a partition size big enough to install Windows updates, as you cannot change this later.
Step 5: Install Windows Insert the USB drive into your Mac device when prompted on the screen. Boot Camp Assistant will use the USB drive to create a bootable USB drive for Windows installation. Once the USB drive is ready, click Install to begin the installation process. Follow the on-screen instructions to complete the installation.
Step 6: Install Boot Camp Drivers Once Windows is installed, you’ll need to install Boot Camp drivers to ensure that your Mac hardware works properly with Windows. Boot Camp Assistant will prompt you to install these drivers.
Step 7: Play Valorant Now that you have Windows installed on your Mac, you can download and play Valorant just like you would on a Windows PC. Simply log in to your Riot Games account and start playing!

